Sensory boxes are a great tool for infants and children with special needs, especially children with limited motor skills. The idea of a sensory box is to provide an environment that is sensory rich and provides opportunities for learning.
Children can learn by feeling objects on their face and body and by reaching for and grasping objects. They can also learn cause and effect by pushing a light on or off, pulling a Slinky and watching it recoil, swatting at a beaded necklace and watching it swing back and forth, etc. Children can also feel calmer in the enclosed space of a sensory box.
A sensory box is easy to make at home! Here’s how to make one (with pictures!).
- Locate an old cardboard box. The sturdier the better! You can also buy a corrugated cardboard box at Lowes or Home Depot for a few dollars. Make sure the box is big enough for your child to lie in the box with their shoulders and upper torso comfortably fitting inside. I recommended a size medium or large box.
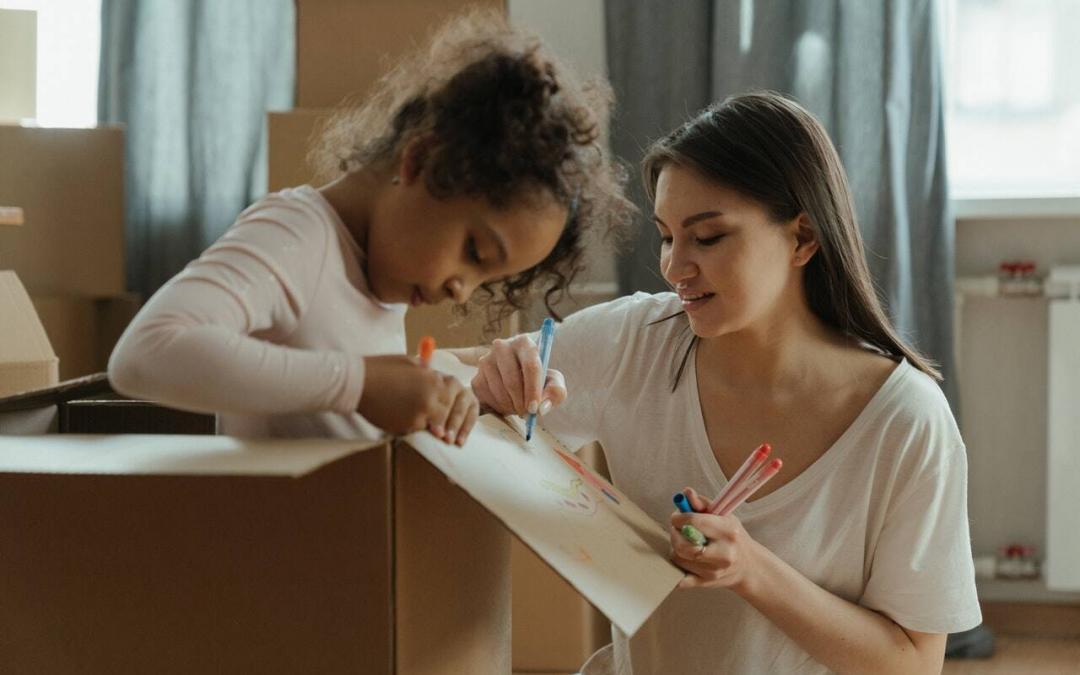
- Find some items that interest your child. Some items I recommend are shiny things that can hang down from the top of the box such as plastic colored beads, stretchy tubing, shiny Slinkys, brightly colored fake flowers (sometimes they also have glitter on them!). Get creative, an array of small items could go in this box.
- Decorate the inside walls of the box with brightly colored construction paper, tissue paper, wrapping paper, old posters, etc. You can glue the paper inside the box or I also like to use shiny Duct tape to adhere it to the walls.
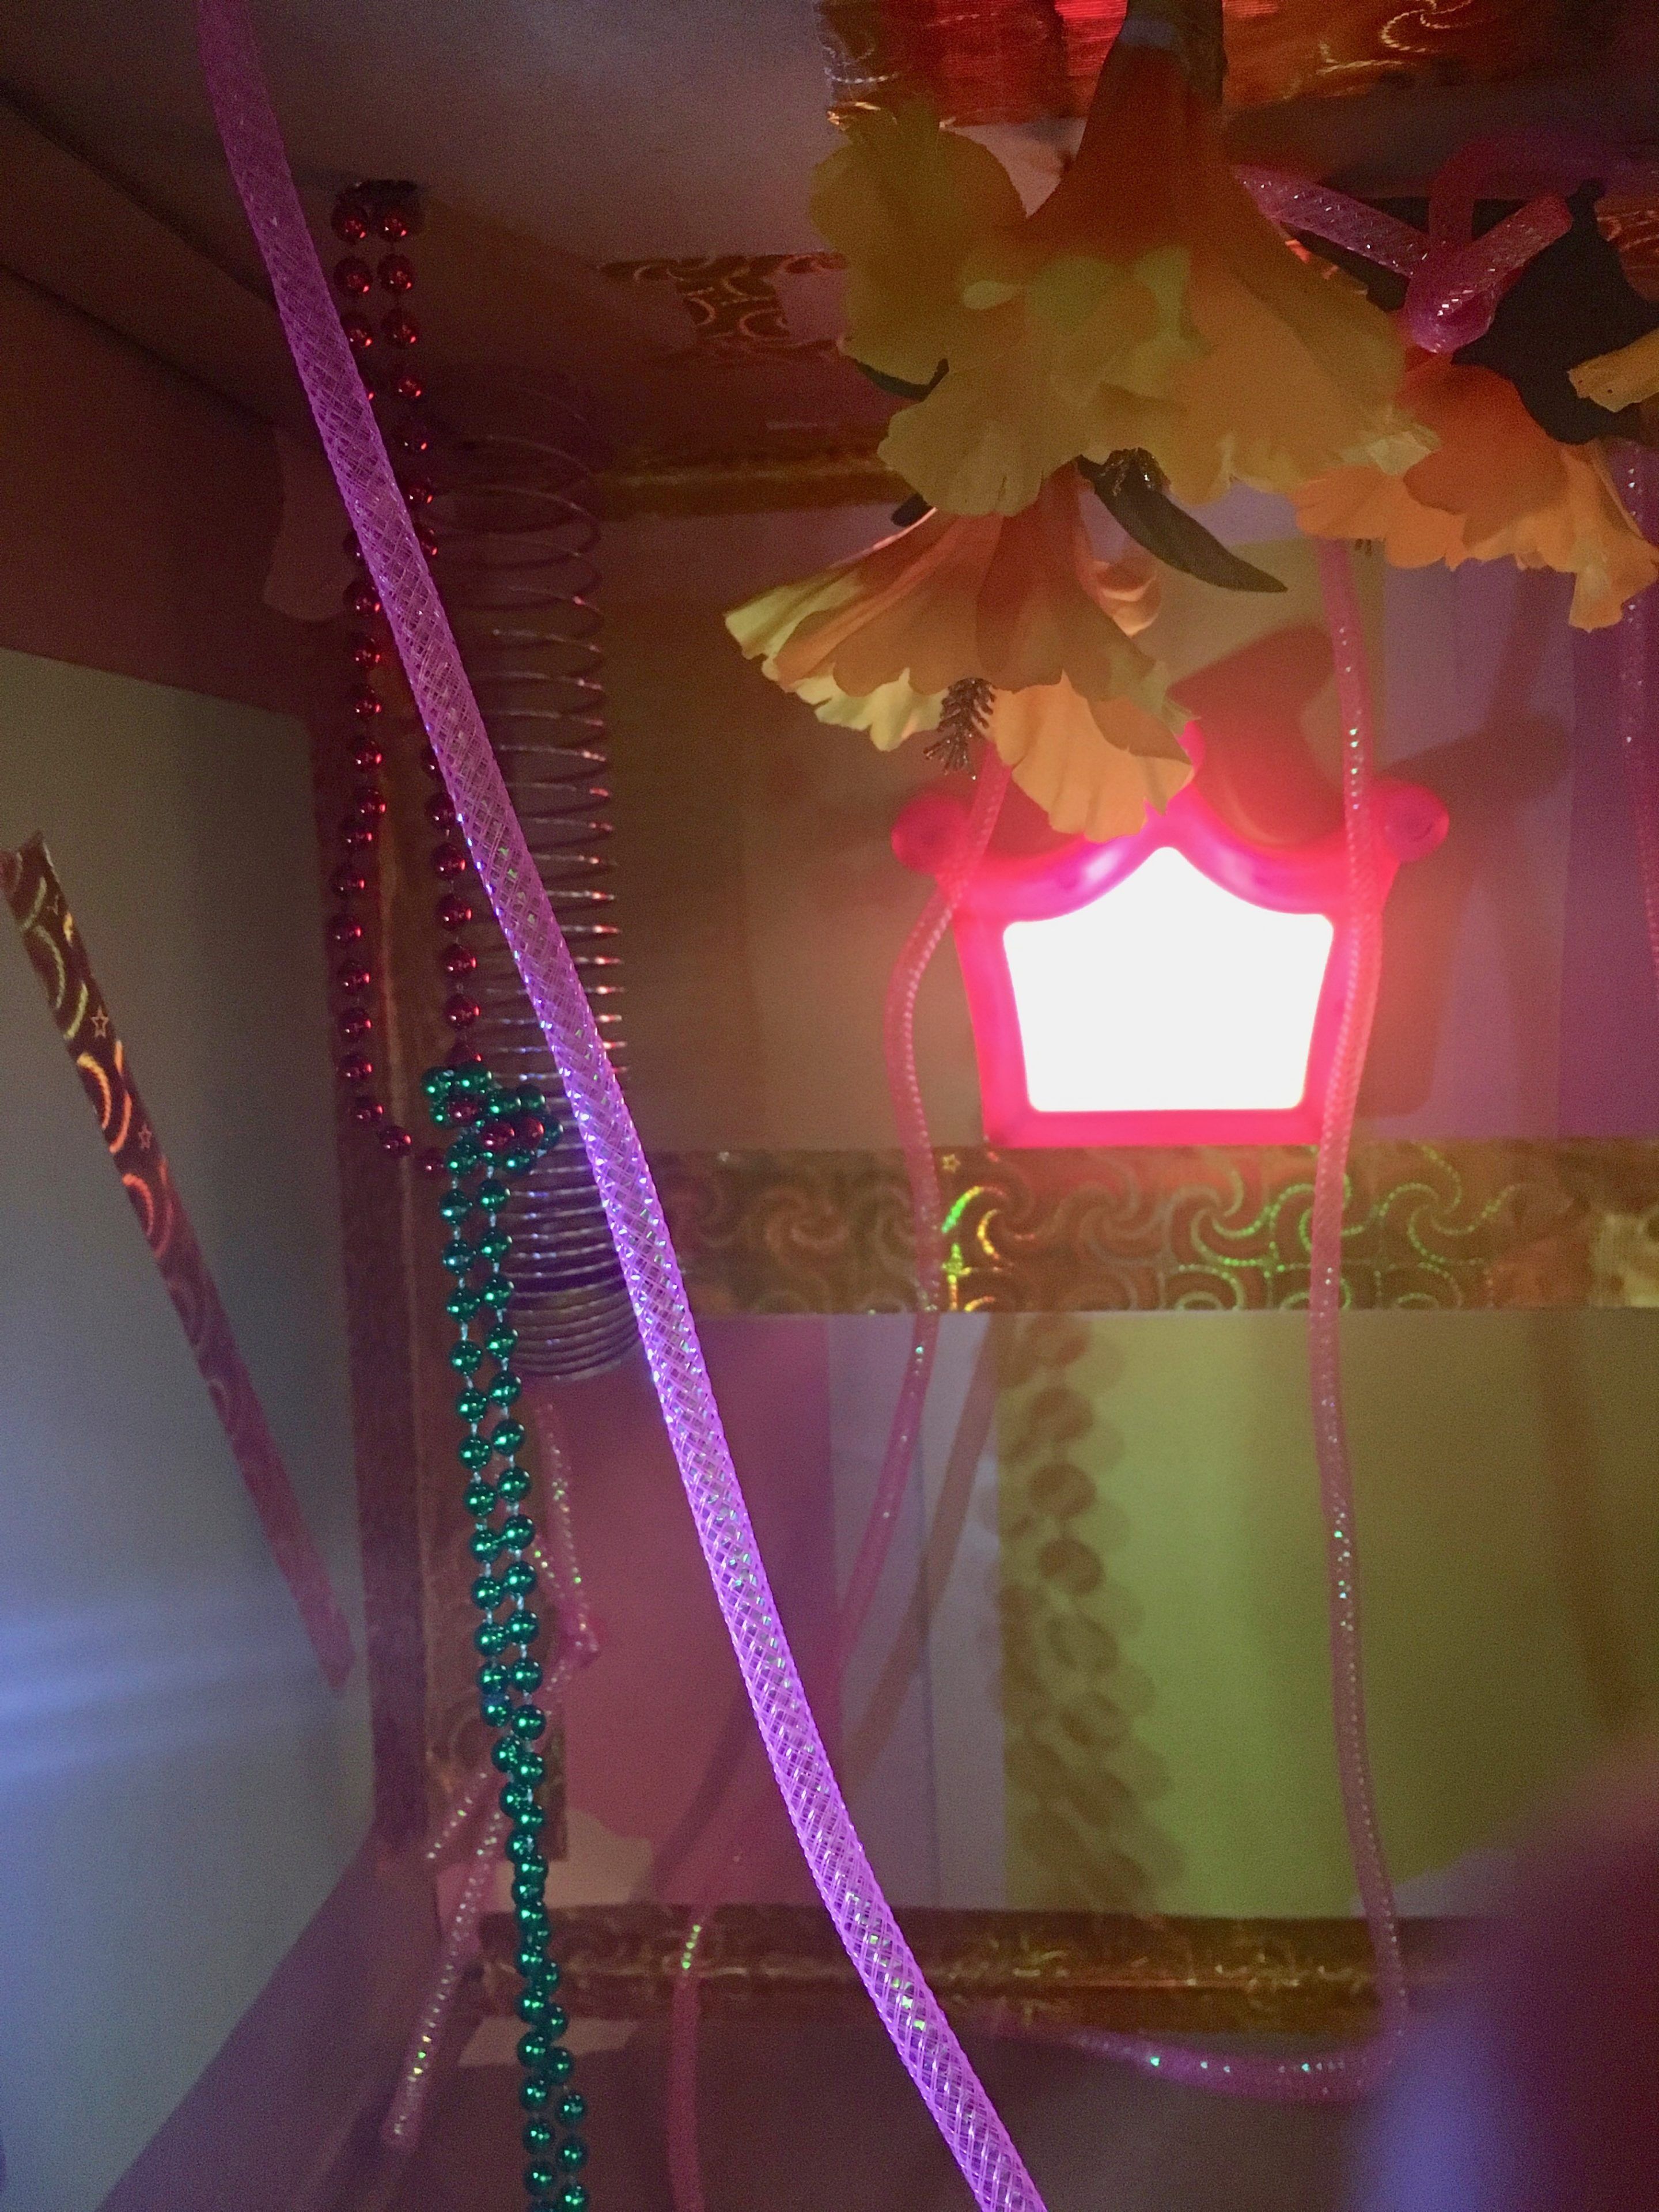
- It’s helpful if there is a toy that lights up or a small light inside the box. There are many simple lights that you can push to turn on that are battery operated and inexpensive. Check your local hardware store or dollar discount store (they have a lot of toys that are great for sensory boxes!). Affix the light to one of the walls of the box with mounting tape (some lights even come with mounting tape), ideally where your child will be able to reach it and push it on and off.
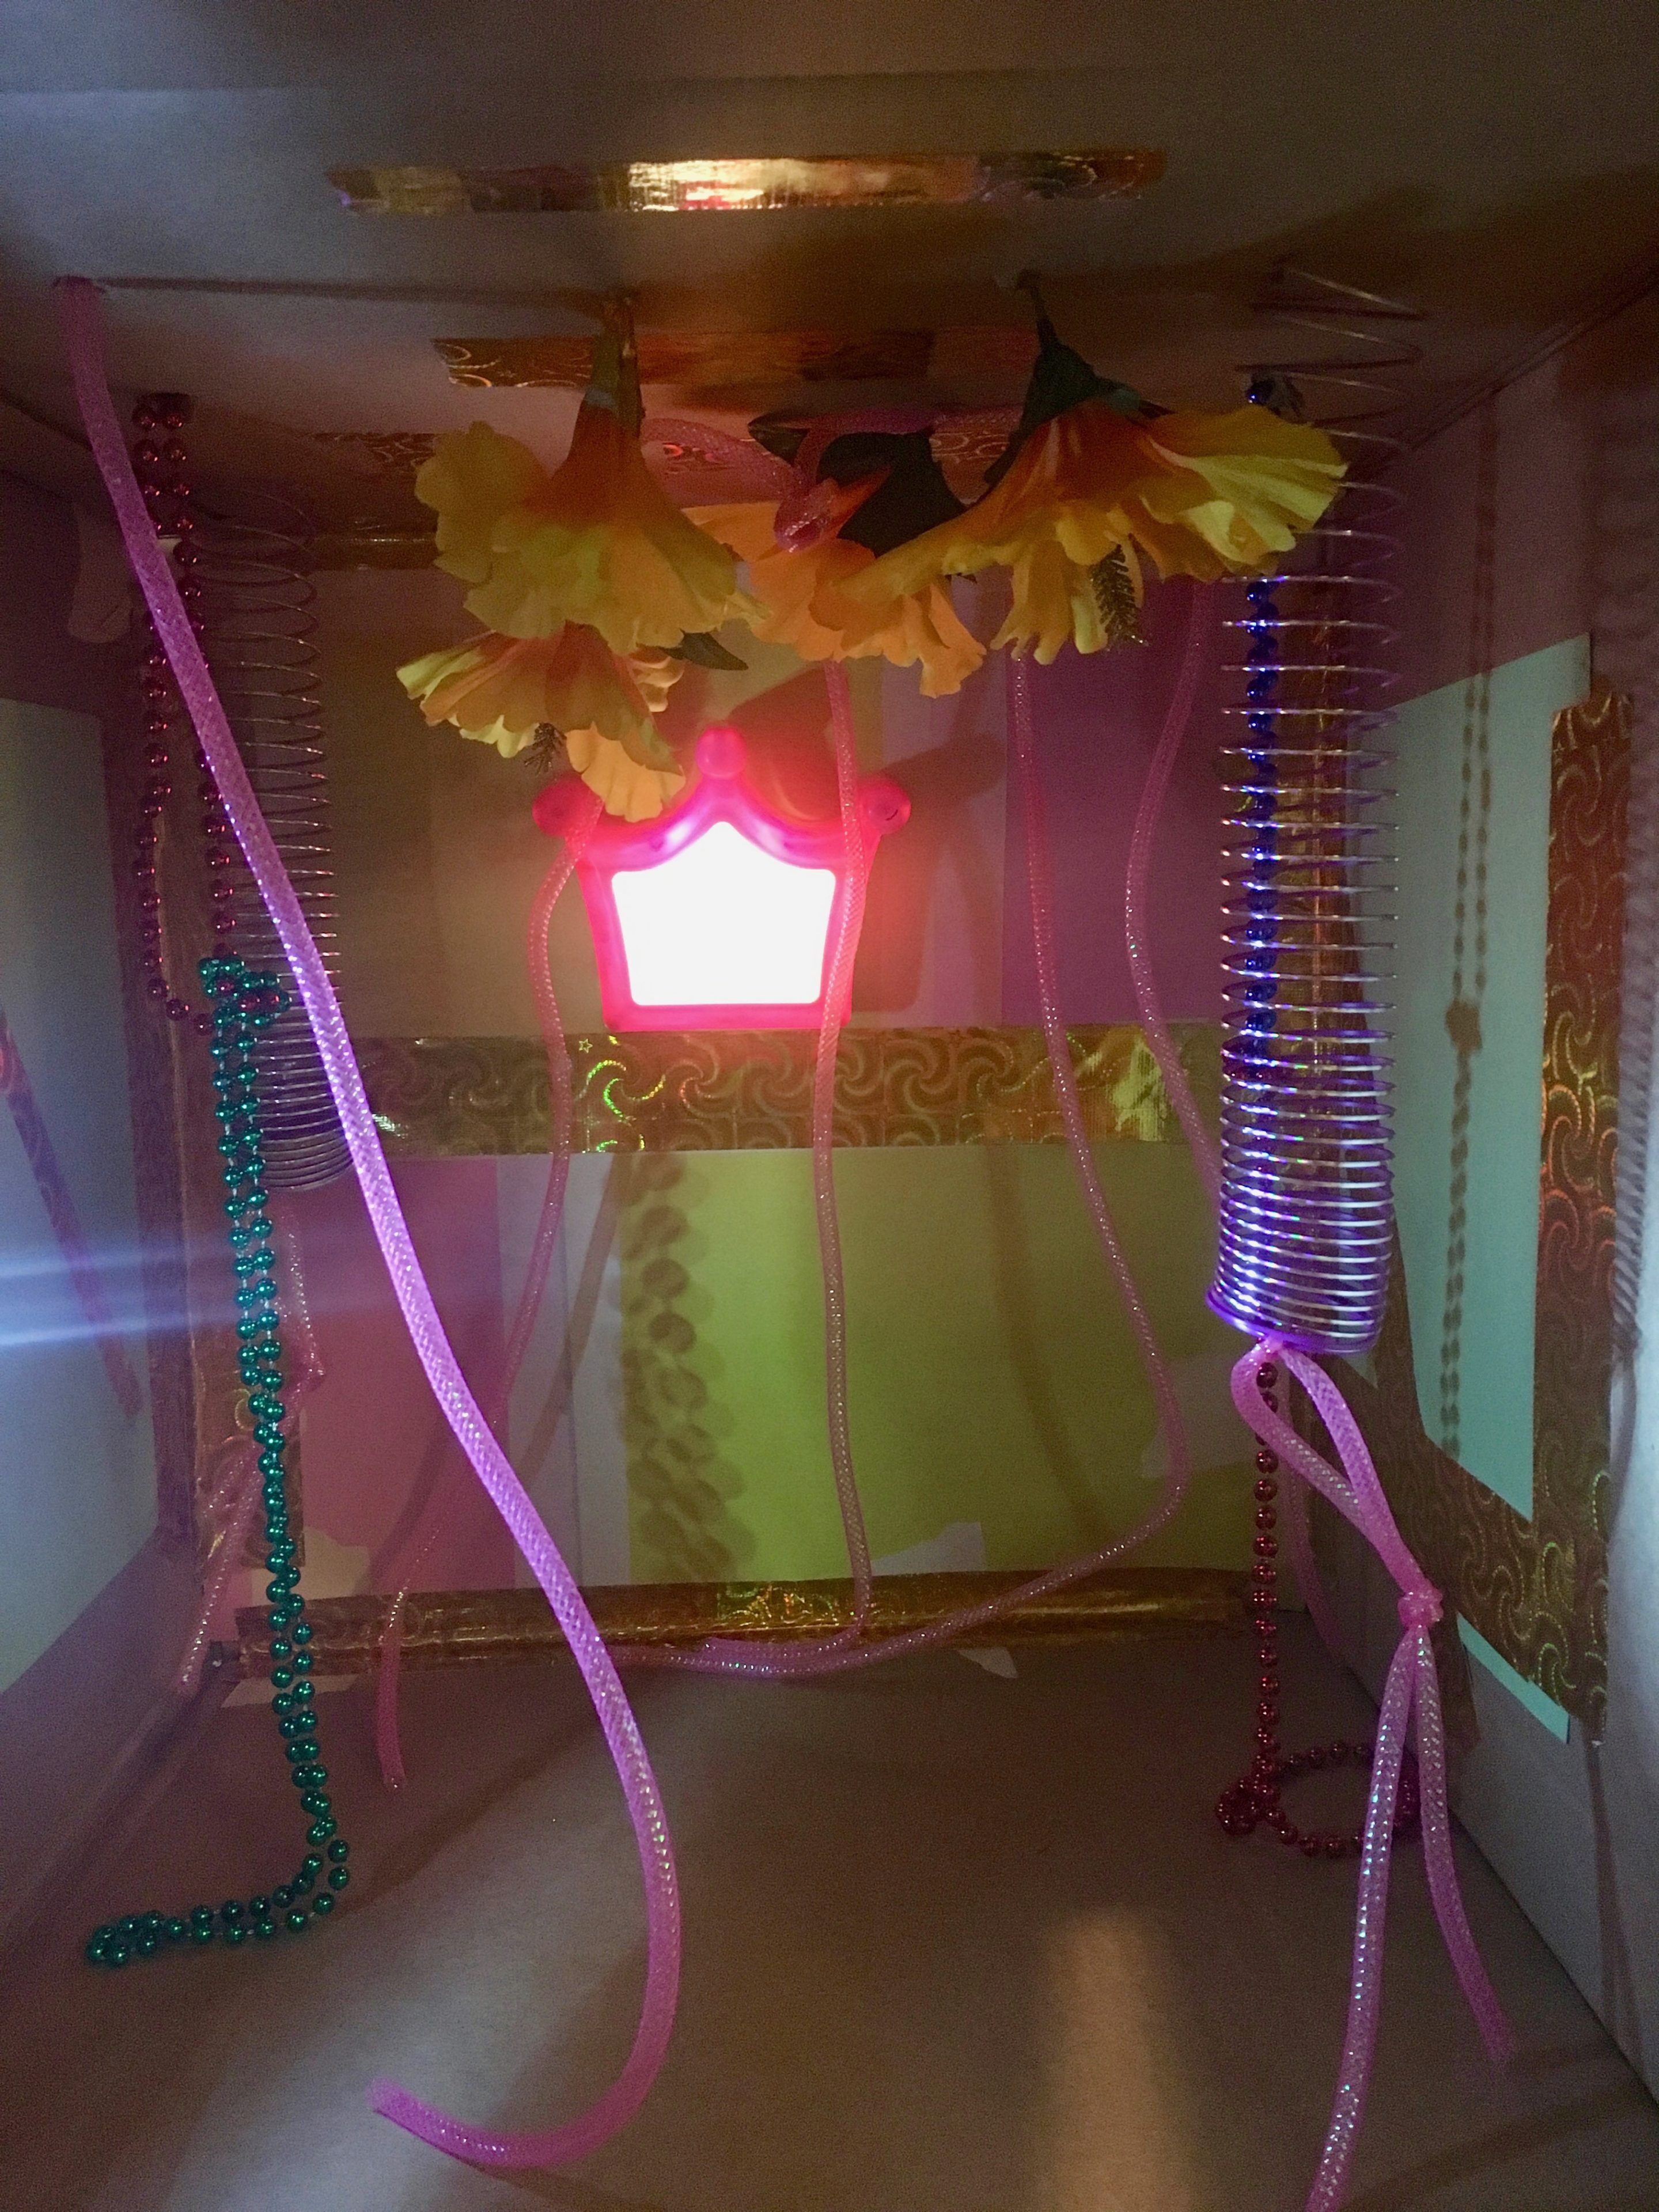
- Next, make holes in the top of the box using a pair of scissors or a knife. Make the holes just big enough to fit the objects that are going to hang from the “ceiling” of the box. Next, push the items through the ceiling of the box so just an inch or two is on the outside of the box. Tape the inch or two of the object to the outside of the box.
- Enjoy your sensory box! Place your child inside the box lying on their back. A small pillow can be used under their head if needed. Enjoy the box with your child pointing out items they are gazing at and assisting them to reach for and grasp items.
Get more tips, interact with our OT’s and connect with other parents by joining our Facebook Group Here.